Skeleton Tree List
Tree groups
A typical skeleton annotation consists of one or more trees.
Trees can be nested and organized in so-called Tree Groups.
Tree groups can have a name and are used to structure and label your annotation even further.
Trees can be dragged and dropped between tree groups.
This action can be applied to multiple trees by selecting them with Ctrl + Left Mouse (on macOS Cmd + Left Mouse).
There are two ways to create a group:
- To create a new top-level group, click the
Create new Groupbutton (the folder icon with a plus) at the top of theSkeletontab. - To create a subgroup, right-click an existing tree group and select
Create new groupfrom the context menu. The new group is created inside the group you clicked.
The same right-click context menu also lets you delete a group. Renaming of a group can be done by selecting a group and then entering a new name into the input above the tree hierarchy structure view.
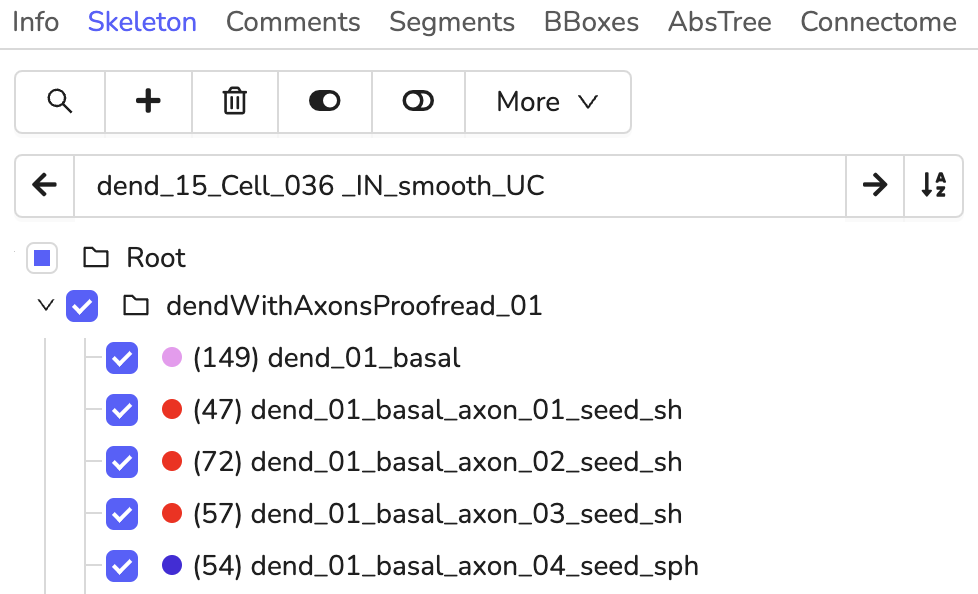
Organize your skeleton annotation's trees to remember important structures for later reference
Tree Colors
A random color is assigned to each tree upon creation.
Colors can be shuffled for a single tree or for all trees in a skeleton.
Right-click on a tree to bring up several actions, e.g. Shuffle Color.
When editing several trees, use the overflow menu under More in the Skeleton tab and select Change Color or Shuffle All Colors to assign new randomly chosen colors.
All nodes have the same color as their parent tree and can not be changed individually.
The active node, branch points, and nodes that have comments assigned to them are highlighted with a slight variation of the tree's color.
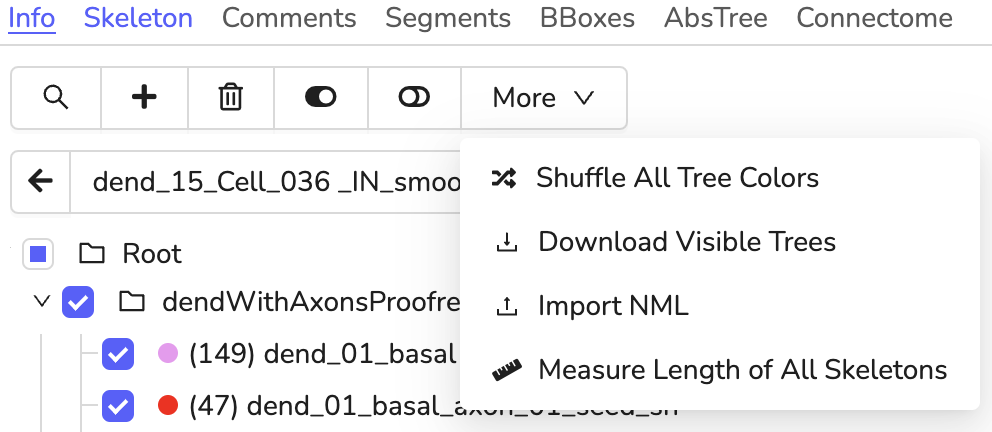
Trees are randomly assigned colors upon creation. Users can assign new colors to a single tree or all trees at once.
Skeleton & Tree Visibility
The visibility of individual trees can be toggled to hide some trees for a better overview.
Toggle the checkbox before each tree name or tree group to hide/show it.
Alternatively, the visibility of all trees can be toggled all at once using the Toggle Visibility of All Trees / Toggle Visibility of Inactive Trees button under the Skeleton Tab.
There are also keyboard shortcuts to quickly toggle the visibility:
| Key Binding | Operation |
|---|---|
| 1 | Toggle Visibility of all Trees |
| 2 | Toggle Visibility of Inactive Trees |
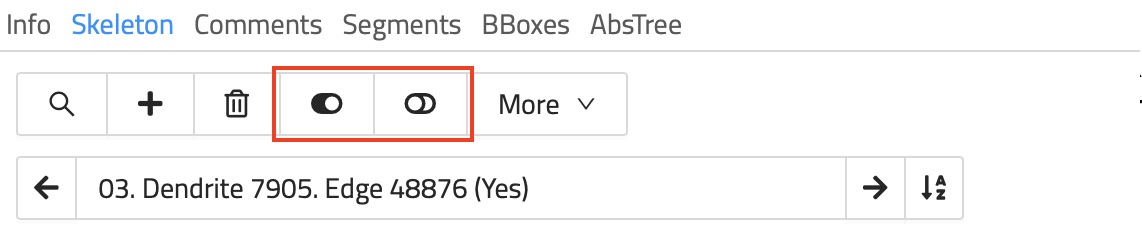
Trees can be hidden for a better overview of the data. Toggle the visibility of an individual tree using the checkbox in front of the tree's name or use the button to toggle all (inactive) trees at once.
- Get Help
- Community Forums
- Email Support