Tasks
The task system is designed for automated task distribution to a (large) group of annotators based on several criteria, e.g., experience, access rights, etc. For fine-grained control, manual task assignments are also possible.
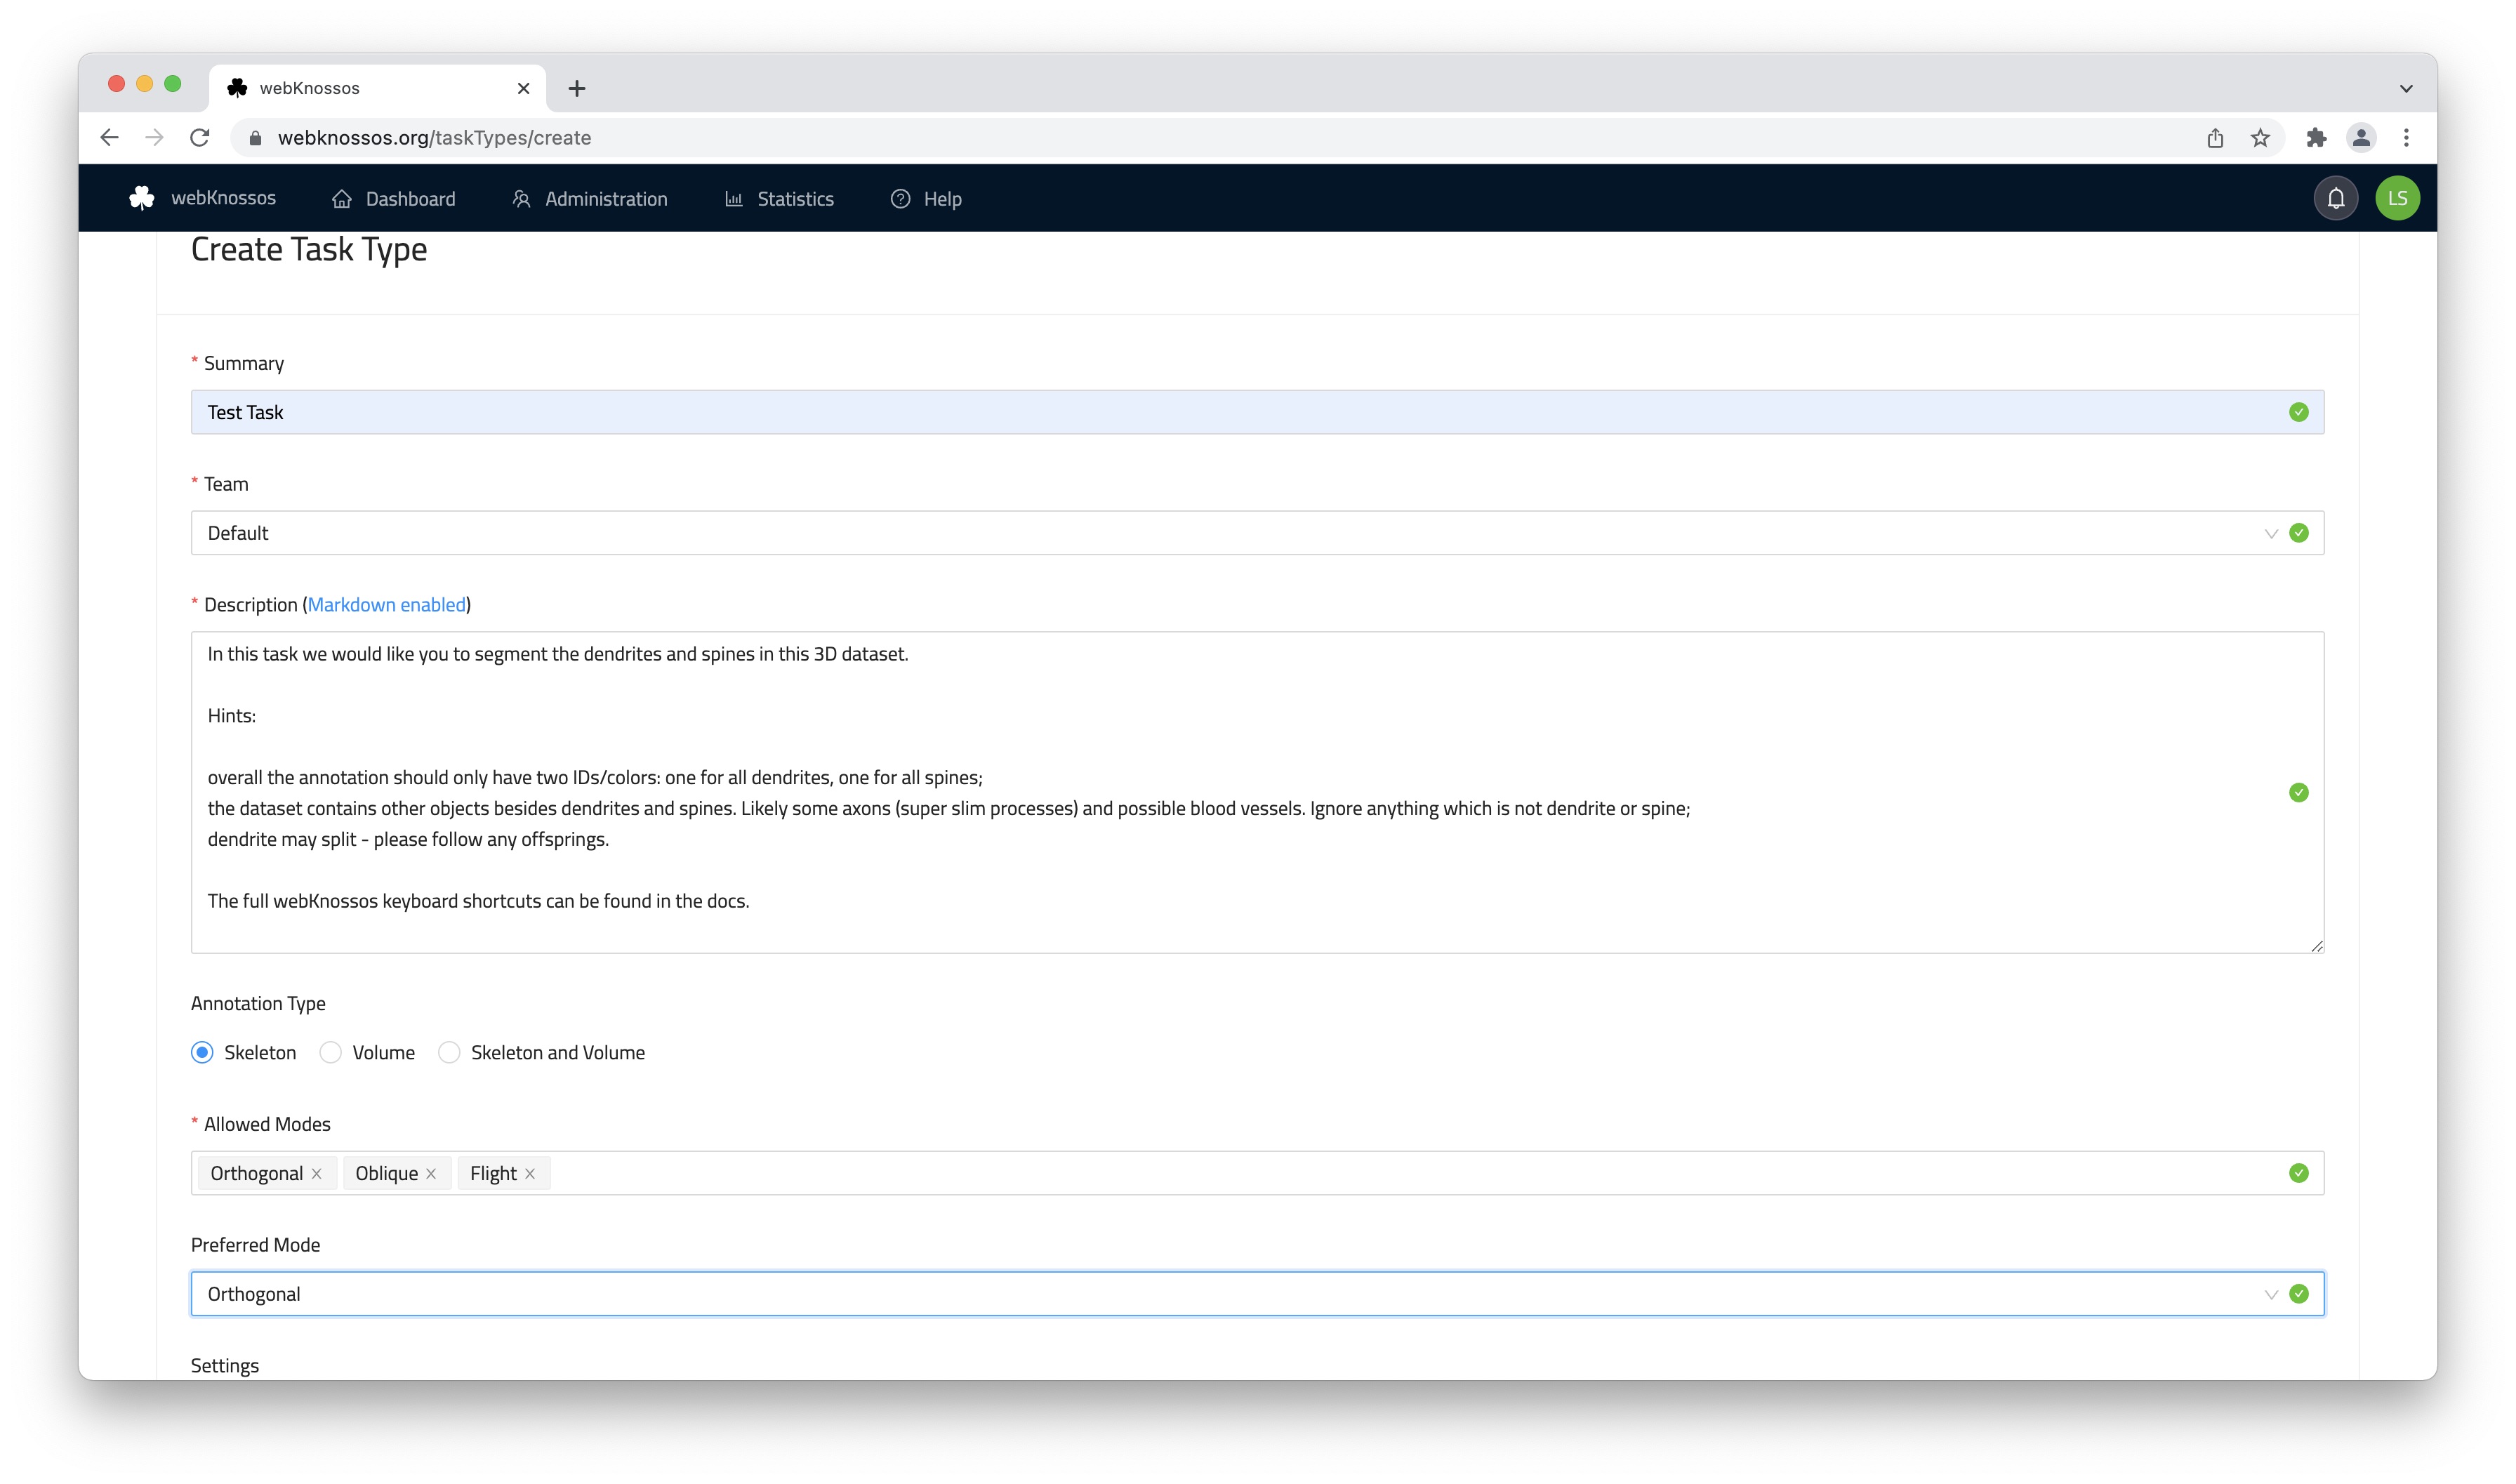
Creating a Task Type
First, a Task Type needs to be created:
- Open
Task Management > Task Typesand click onAdd Task Type. - Fill out the form to create the Task Type:
- Note that the
Descriptionfield supports Markdown formatting. - If you don't have a sophisticated team structure, select the default Team.
- Take a look at the additional settings to configure the new Task Type:
Settings
| Display Name | Key | Default Value | Comment |
|---|---|---|---|
| Clipping Distance | clippingDistance |
80 | orthogonal mode |
| Only Show Nodes of Current Section | clipSkeletonToCurrentSection |
false | orthogonal mode; always false when camera or dataset is rotated/transformed |
| Move Value (nm/s) | moveValue |
500 | orthogonal mode |
| Show Scalebars | displayScalebars |
false | |
| Single-node-tree mode (Soma clicking) | newNodeNewTree |
false | |
| Auto-center Nodes | centerNewNode |
true | |
| Plane Display Mode in 3D View | tdViewDisplayPlanes |
WIREFRAME | NONE or WIREFRAME or DATA |
| Display Dataset Borders in 3D View | tdViewDisplayDatasetBorders |
true | |
| d/f-Switching | dynamicSpaceDirection |
true | |
| Highlight Commented Nodes | highlightCommentedNodes |
false | |
| Override Node Radius | overrideNodeRadius |
true | |
| Particle Size | particleSize |
5 | |
| Keyboard delay (ms) | keyboardDelay |
0 | |
| Show Crosshairs | displayCrosshair |
true | |
| Classic Controls | useLegacyBindings |
false | |
| 4 Bit | fourBit |
false | |
| Interpolation | interpolation |
true | |
| Segmentation Opacity | segmentationOpacity |
0 | |
| Pattern Opacity | segmentationPatternOpacity |
40 | |
| Zoom | zoom |
0.8 | |
| Render Missing Data Black | renderMissingDataBlack |
false | |
| Loading Strategy | loadingStrategy |
BEST_QUALITY_FIRST | BEST_QUALITY_FIRST or PROGRESSIVE_QUALITY |
| Clipping Distance | clippingDistanceFlight |
60 | flight mode |
| Move Value (nm/s) | moveValue3d |
600 | flight mode |
| Mouse Rotation | mouseRotateValue |
0.001 | |
| Keyboard Rotation | rotateValue |
0.01 | |
| Sphere Radius | sphericalCapRadius |
500 | |
| Brush Size | brushSize |
50 |
Create a Task Type
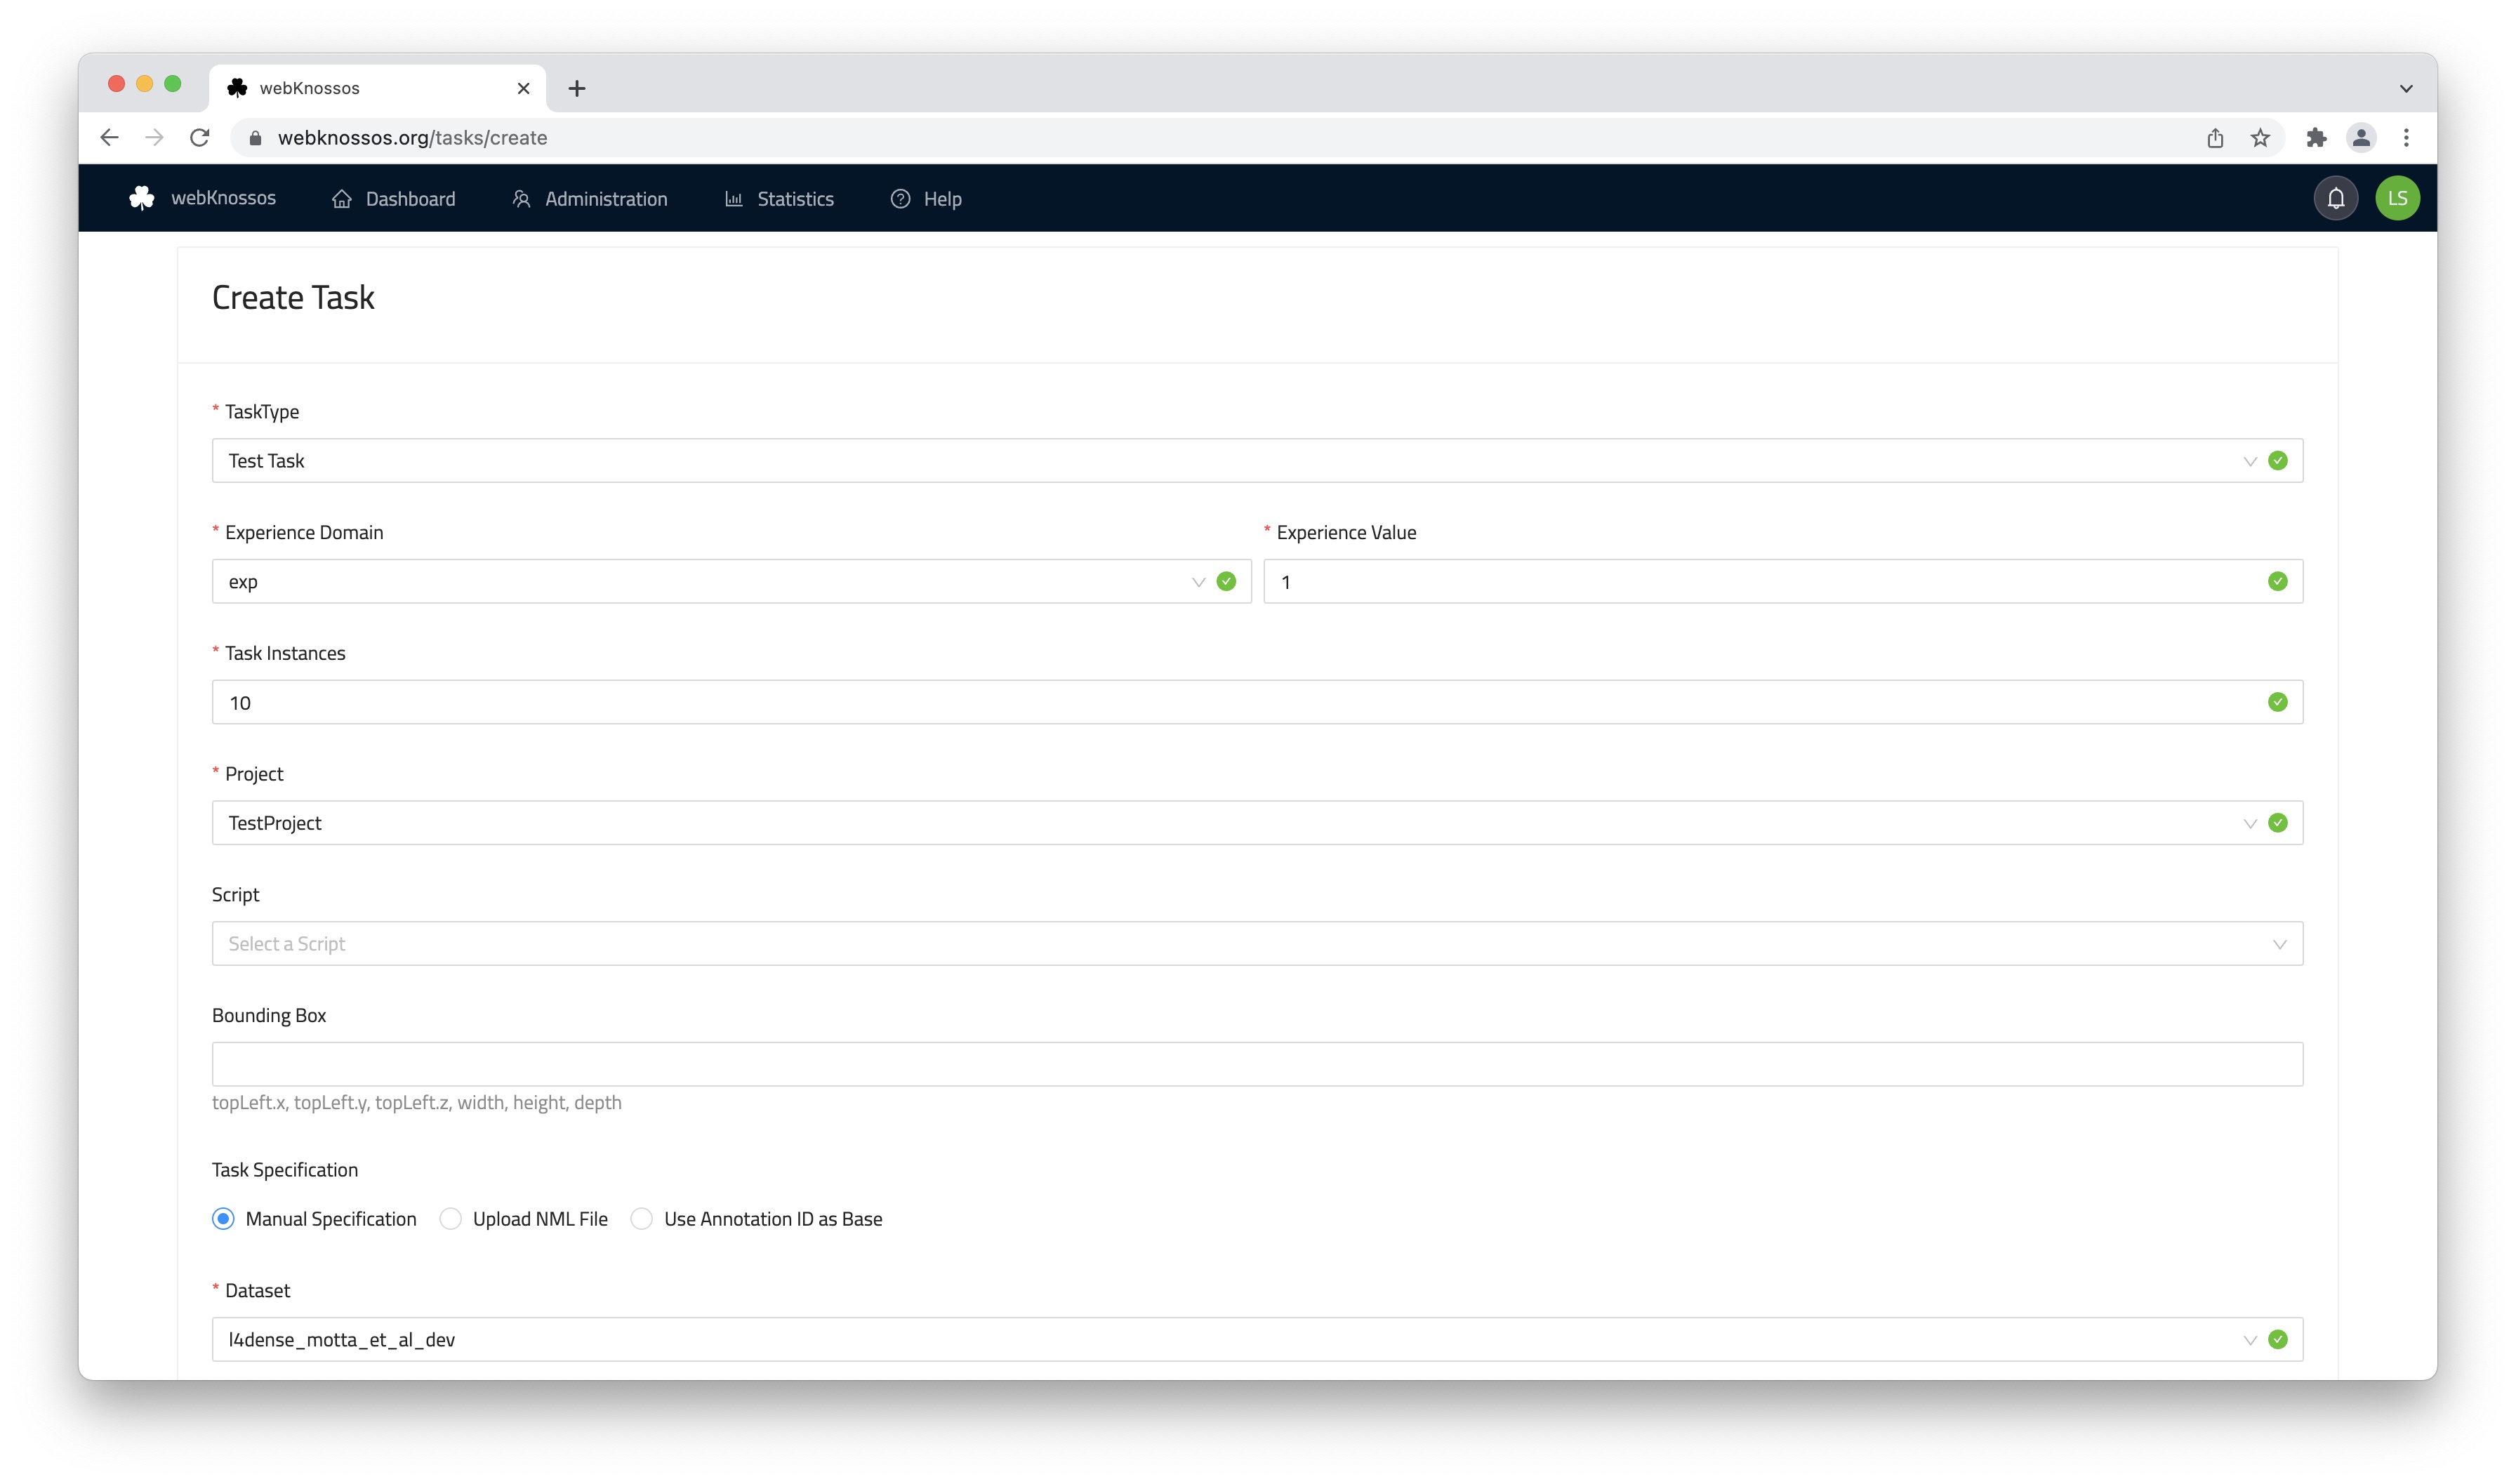
Next, you need to set up a Project. Once you have created your project, you are ready to create Tasks:
Creating a Task
- Open
Task Management > Tasksand click onAdd Task. - Fill out the form to create the Task.
- Enter the starting positions in the lower part of the form.
- Alternatively, you can upload an NML file that contains nodes that will be used as starting positions.
Tasks can also be created in bulk using the advanced CSV text input. Not recommended for beginners.
Create a Task
Note that you need to specify required Experiences for a Task. Your Task can only be assigned if there are users that have the required Experience assigned to them. You can assign an Experience to a user on the Users page.
Assigning Experiences to users
After your Task is created, other users in your organization can request Tasks from their dashboard (Tasks tab).
If there are no other projects with high priorities, they will eventually get your Task assigned.
Alternatively, you can manually assign a task to individual users (see below).
Once a user is done working on a task, they can mark the task as Finished.
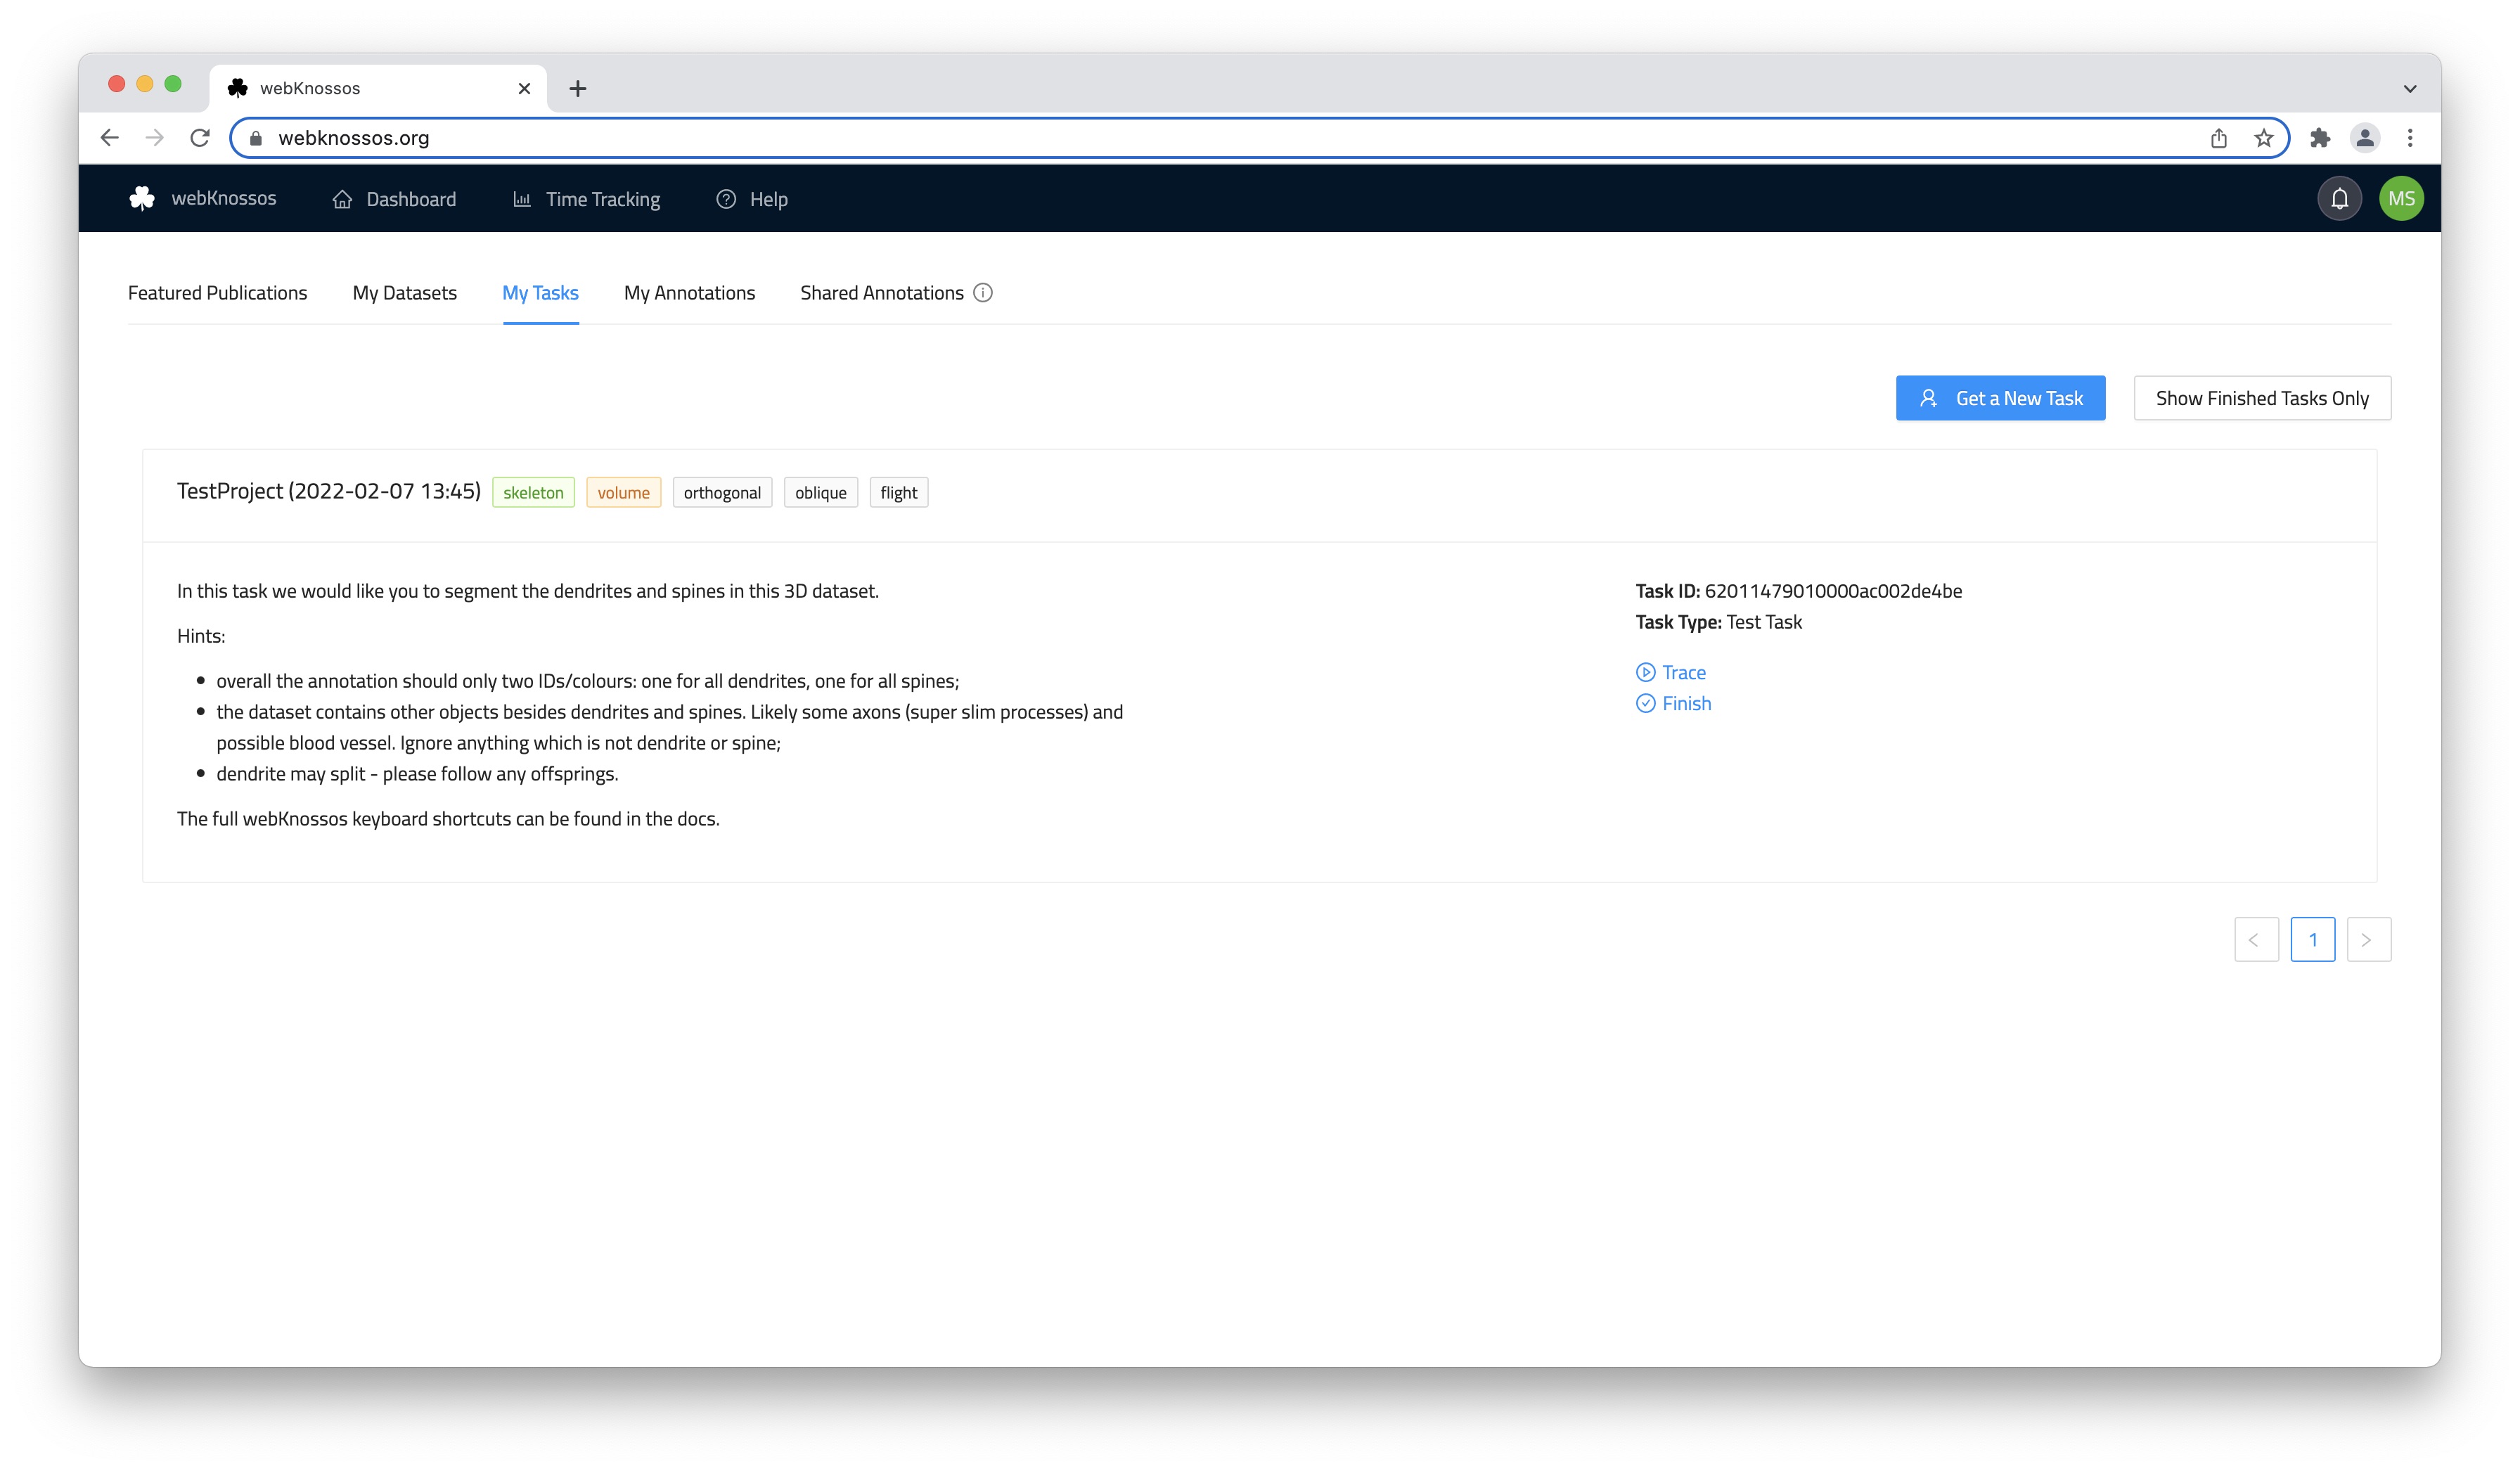
Requesting Tasks in the Dashboard
Finally, you can collect and review the completed data of all annotations within a project:
- Navigate to the
Projectpage - Select to View or Download all the combined annotations.
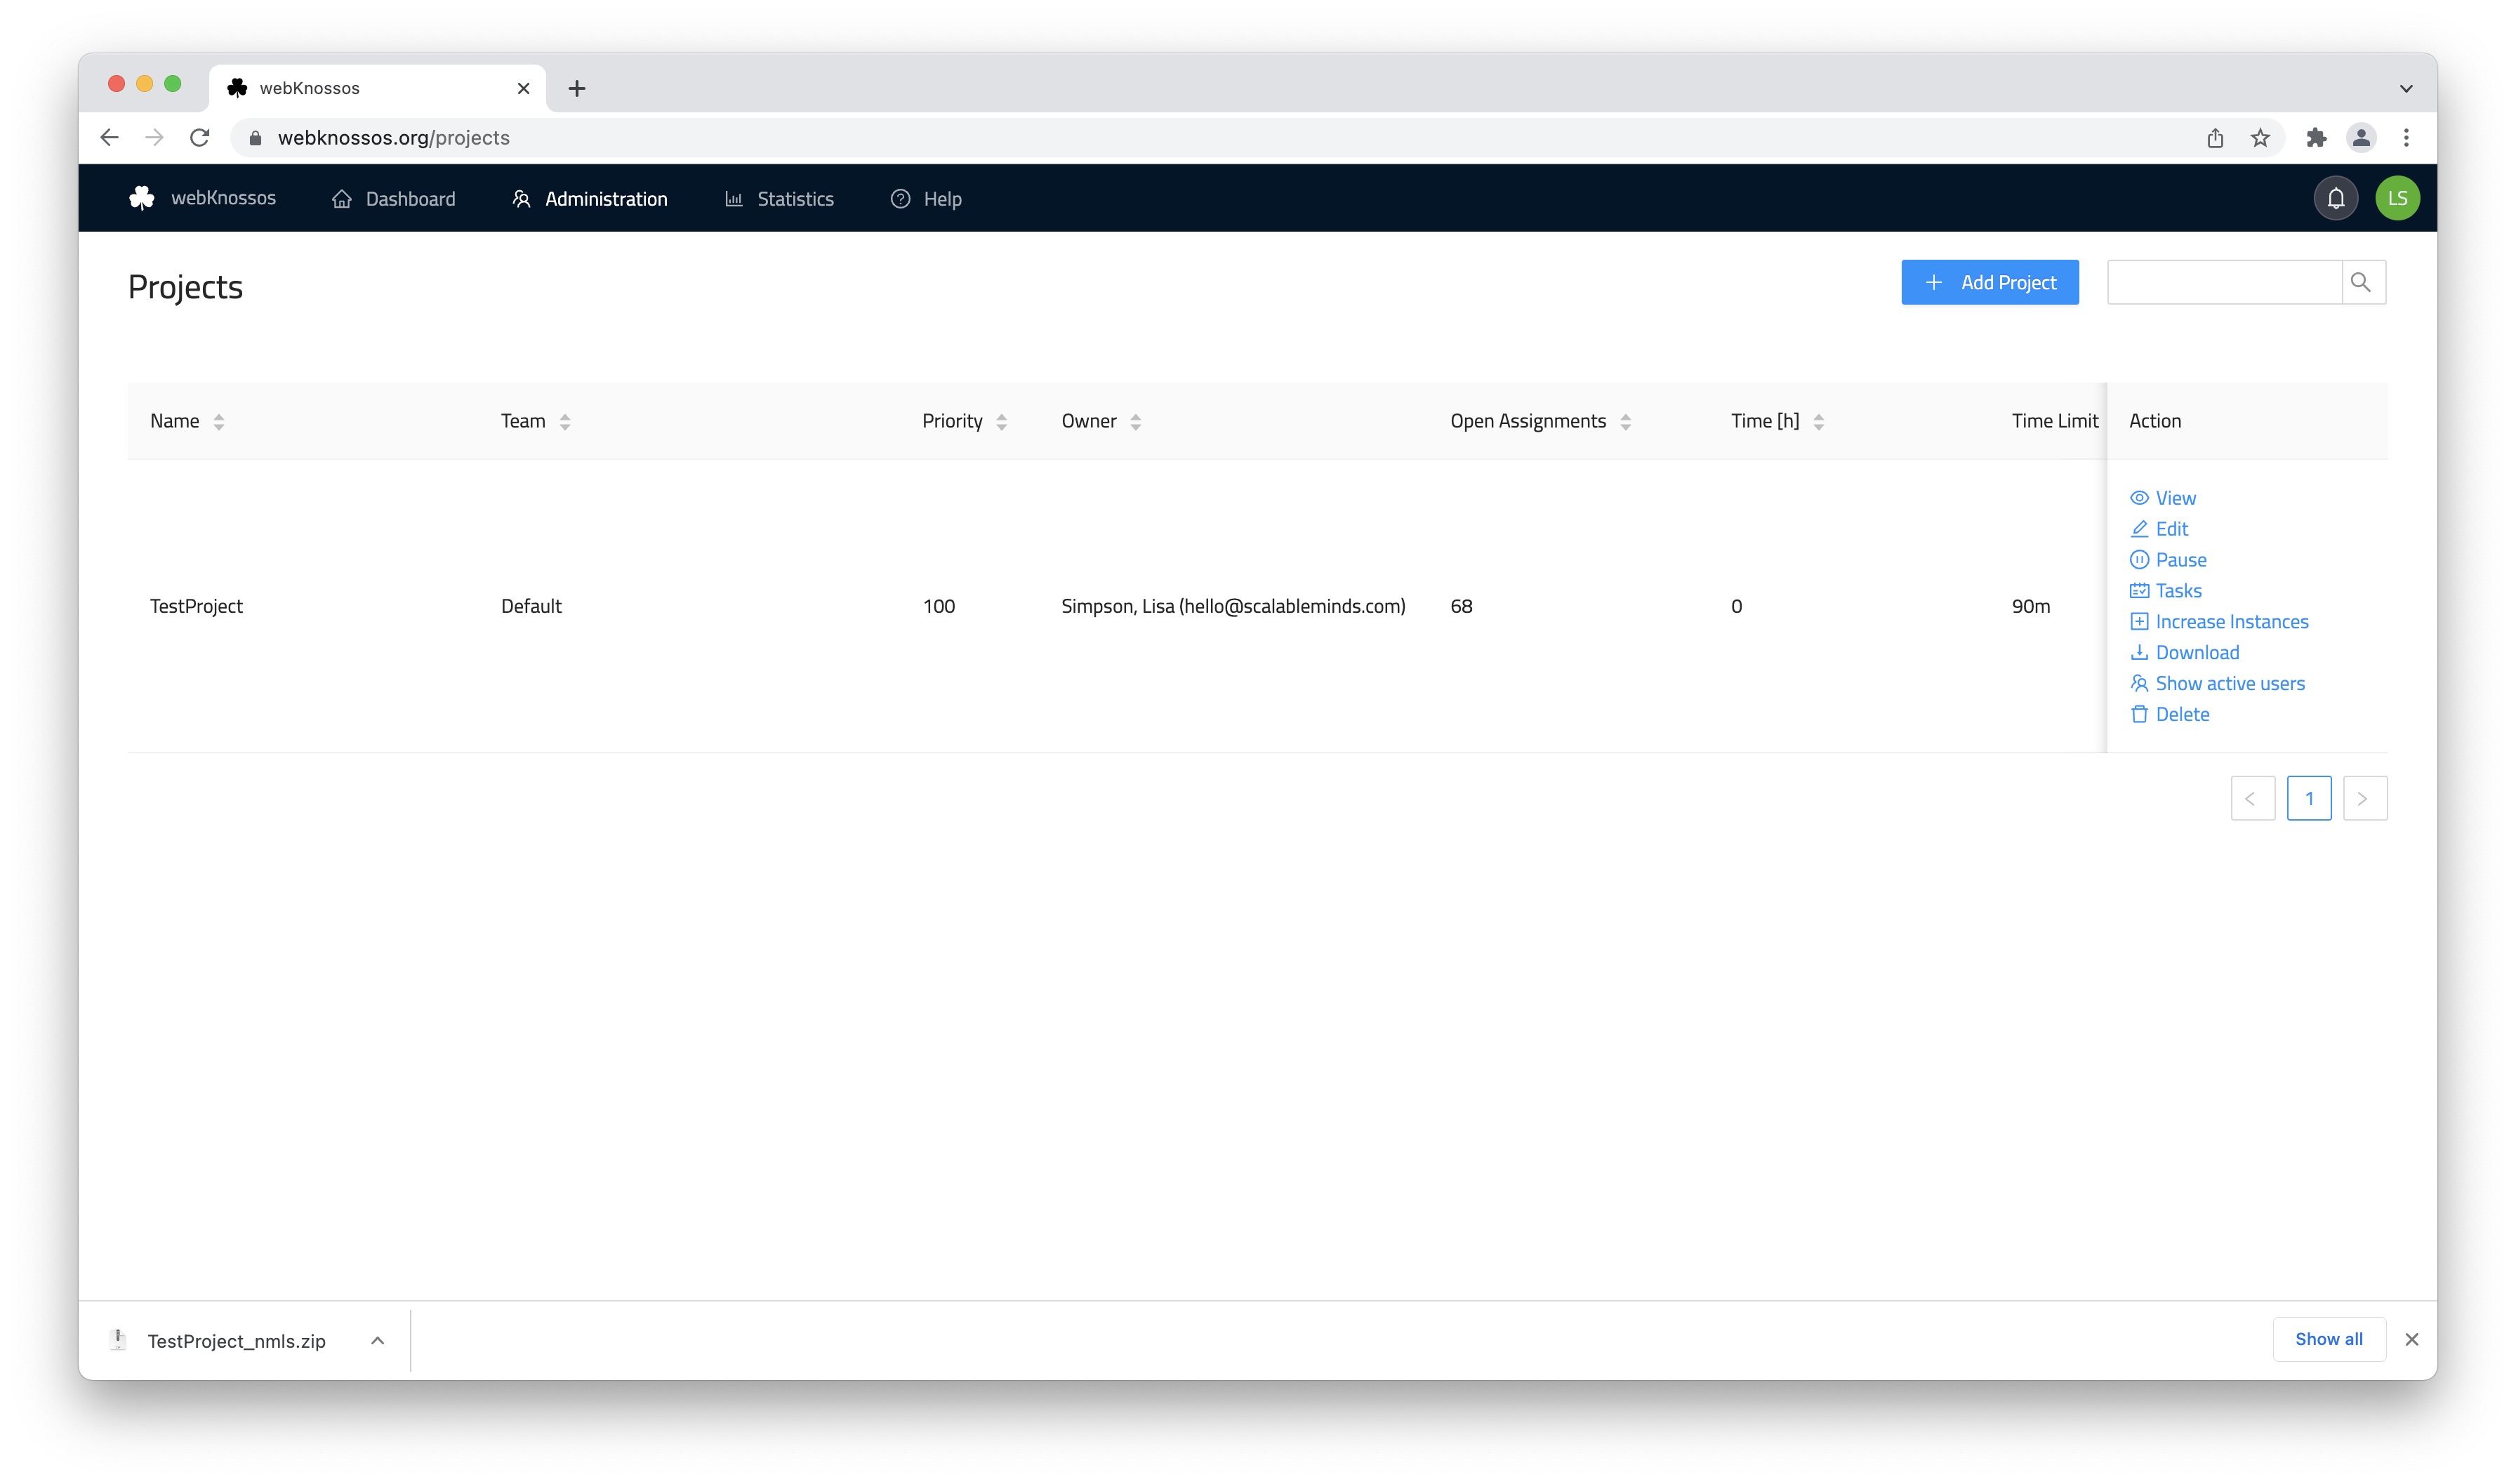
Download all Tasks of a Project
Automatic Task Assignment
When users request a new task from their dashboard ("Tasks" tab), a set of criteria is matched to assign them to a fitting task:
- Available Tasks are assigned to users that have the required Experience and are members of the specified team
- Multiple Task Instances will be assigned to different users
- Tasks from Projects with high priority are assigned first
- Tasks from paused Projects are not assigned at all
- If there are multiple Tasks with the same priority, they will be chosen at random
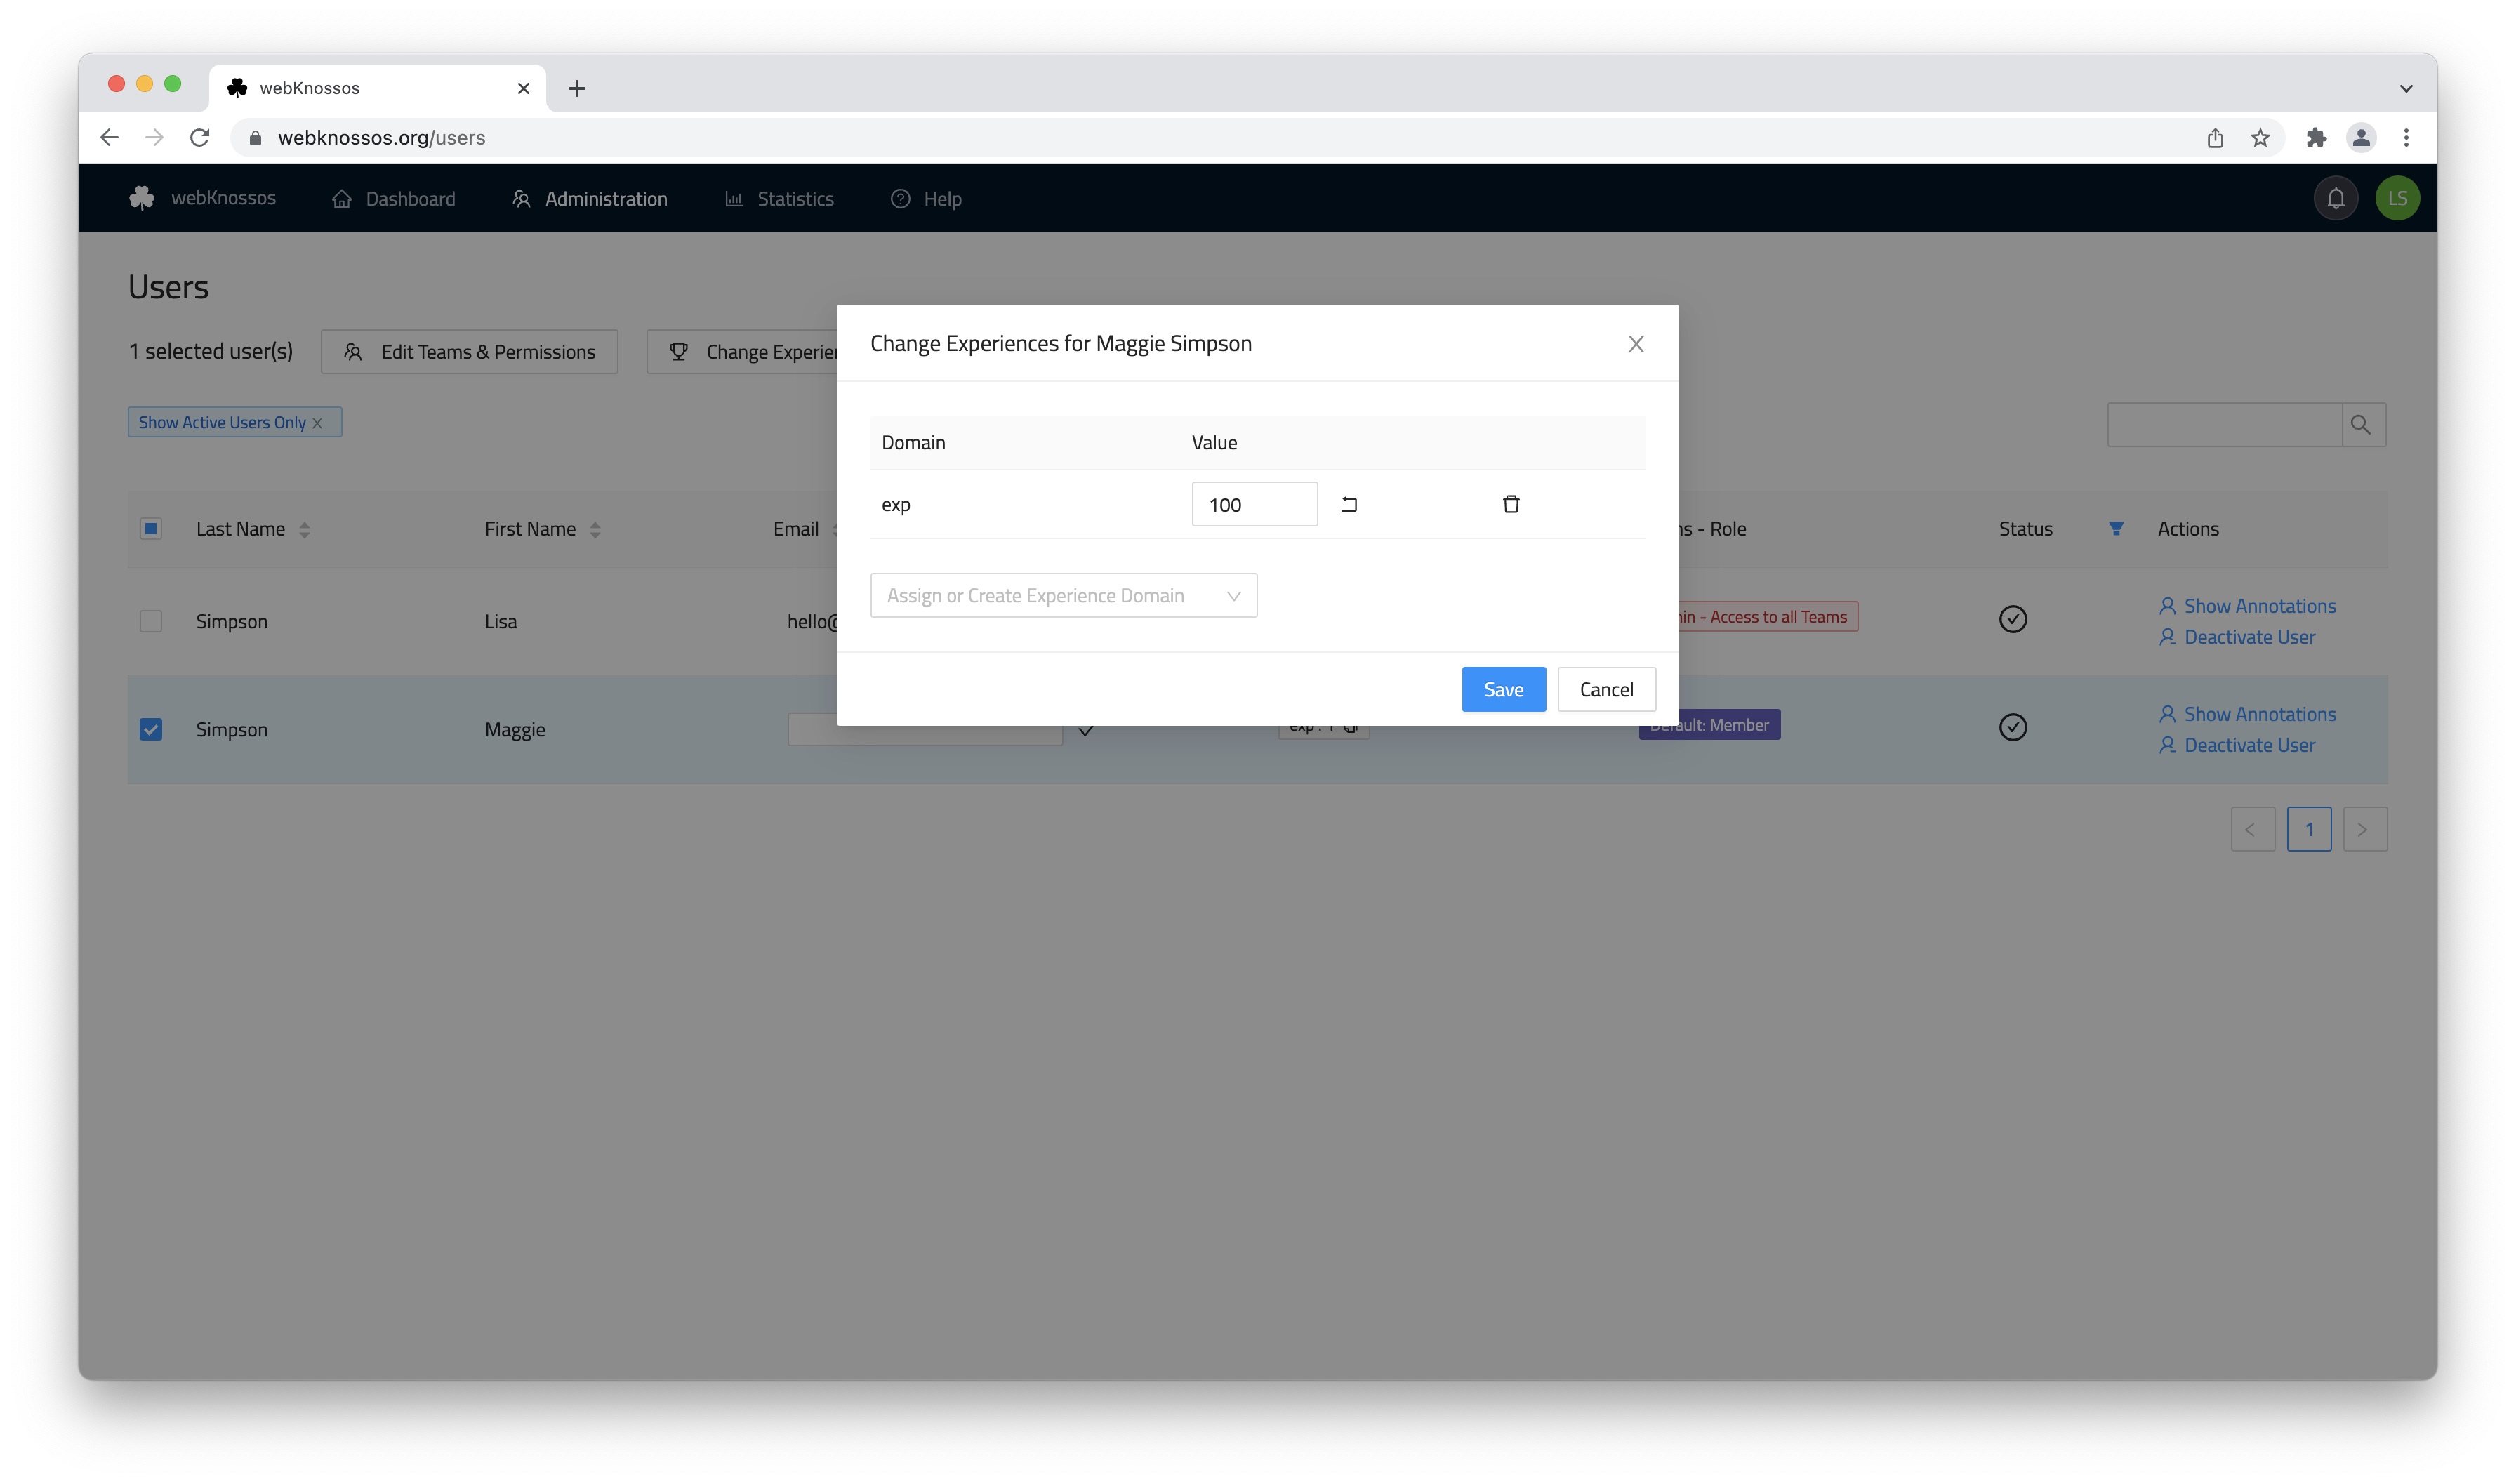
User Experience Levels
For a fine-grained assignment to annotation tasks, each user can have one or more experience levels assigned to them. Based on their respective experience level, tasks may or may not be distributed to them.
Assign/Remove experience levels by selecting one/several users and clicking on the Change Experience button. In the pop-up window, you can select any existing experience from the dropdown or type the domain name of a new experience domain in the dropdown input.
Each experience domain is combined with a numeric value indicating the proficiency of the respective user.
E.g., a seasoned annotator may have the experiences nuclei: 10 and mitochondria: 7, while a rookie could start at nuclei: 1 to codify that they have not worked on mitochondria annotation at all and just started with their first nuclei reconstruction project.
Experience domains are referenced during task type and project creation and task distributing respectively. Domain names and values are arbitrary and can be customized to make sense for your organization.
Manual Task Assignment
In contrast to the automated task distribution system, an admin user can also manually assign a task instance to users. Note, manual assignments bypass the assignment criteria enforced by the automated system and allow for fine-grained and direct assignments to individual users.
Manual assignments can be done by:
- Navigate to the task list
- Search for your task by setting the appropriate filters
- Click on "Manually Assign to User"
- Select a user for the assignment from the dropdown
- Confirm the assignment with "ok"
Existing, active and finished task instances can also be transferred to other users, e.g. for proofreading, continued annotation or to change ownership:
- Navigate to the task list
- Search for your task by setting the appropriate filters
- Expand the list entry for selected task - plus icon - and locate the respective task instance
- From the
Actionsmenu on the right-hand side, select "Transfer" - Select a user for the task transferal from the dropdown
- Confirm the task transfer with "ok"
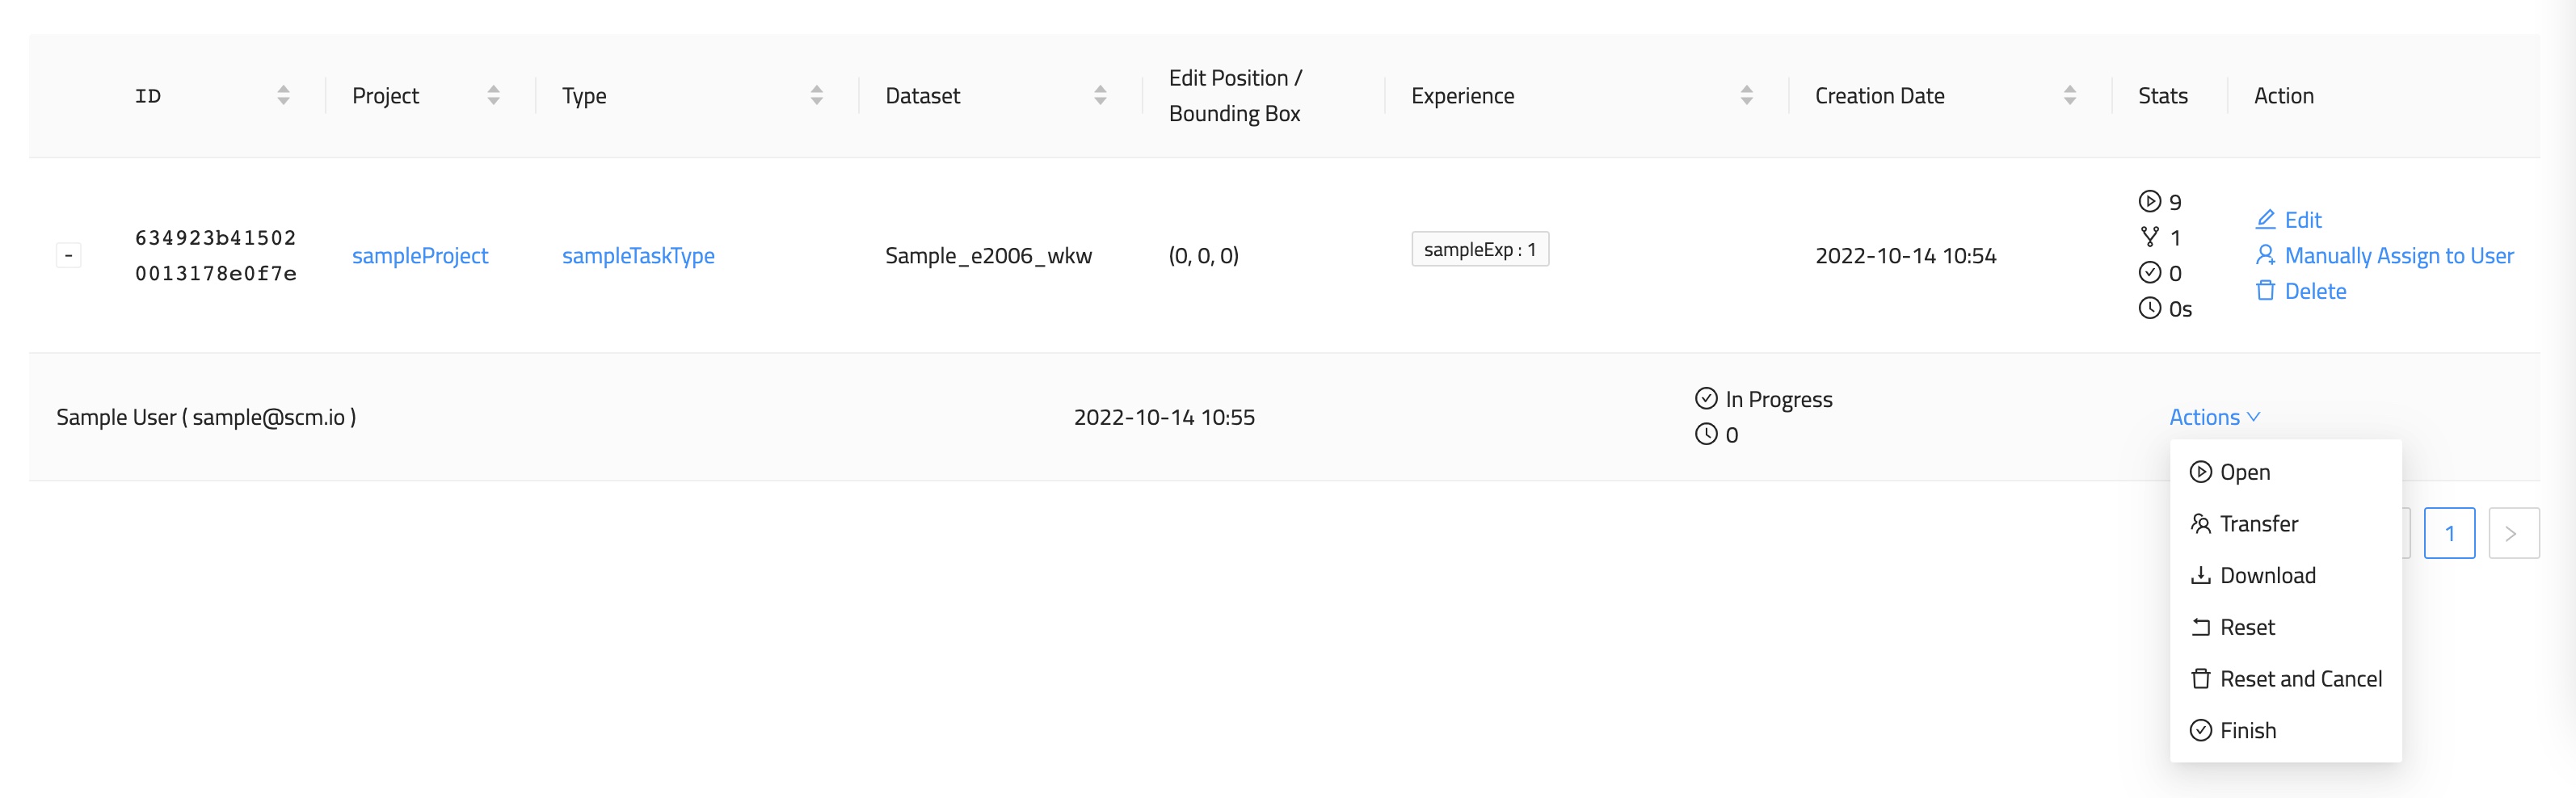
Transfer a task instance to a new user and additional task administration actions.
- Get Help
- Community Forums
- Email Support